Invite the bot
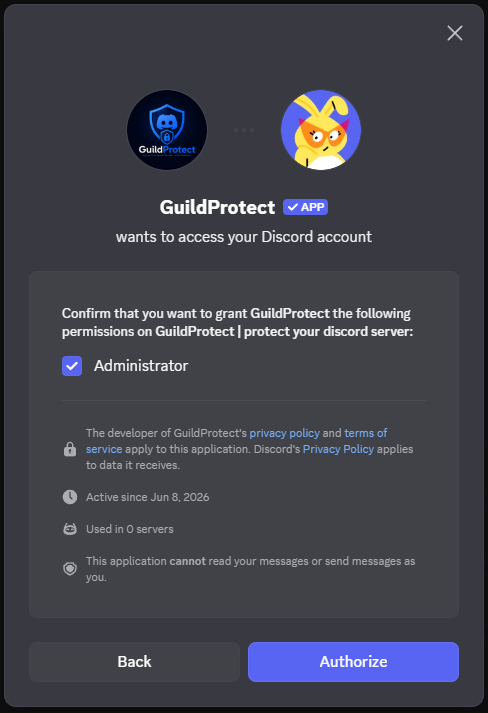
Invite GuildProtect with bot and slash-command permissions. Start with Administrator so every protection feature can work reliably.
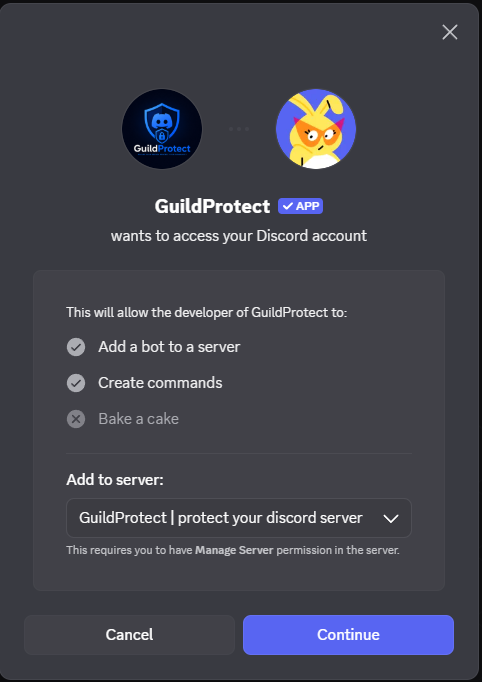
Invite GuildProtect with bot and slash-command permissions. Start with Administrator so every protection feature can work reliably.
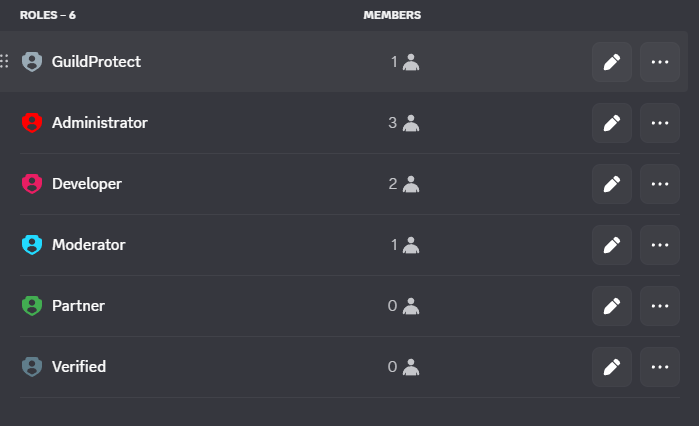
This is the most important step. The GuildProtect role must be as high as possible in Discord, ideally directly below the owner role. Roles above GuildProtect cannot be punished, cleared or assigned.
GuildProtect needs access to audit logs, role management, channel management, ban/kick, messages and, depending on features, verification and restore. Missing permissions are shown inside the server guide.
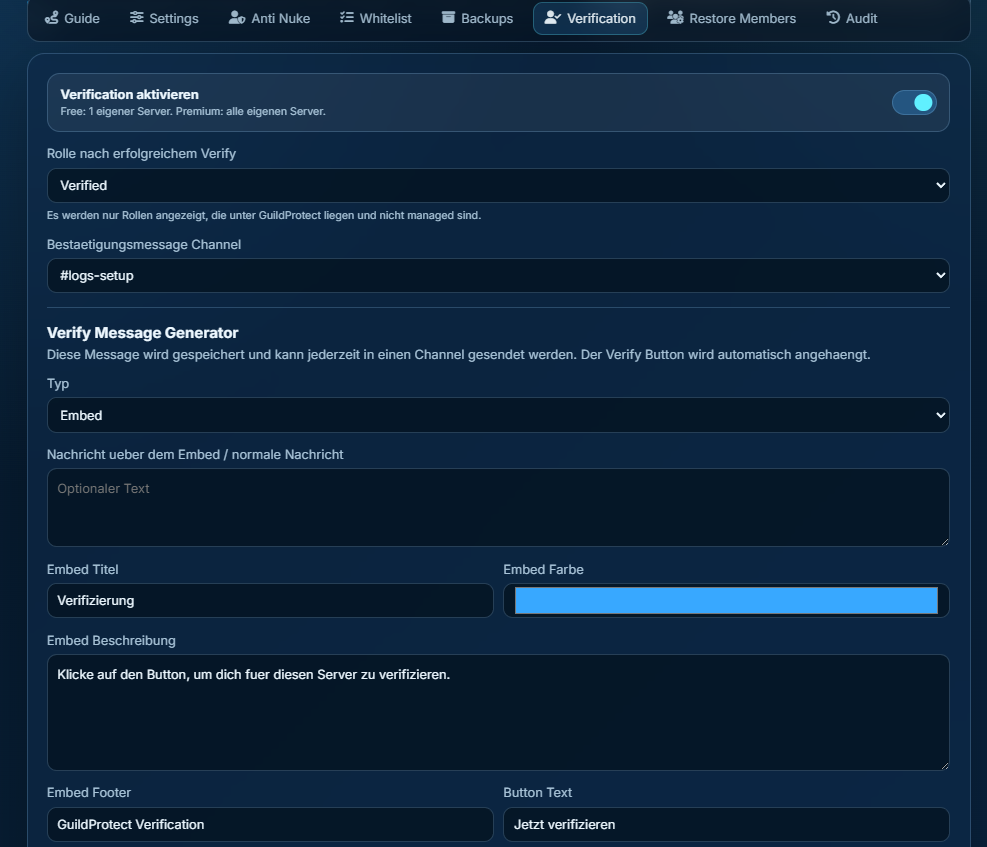
Sign in with Discord, open your server and complete the guide. It shows role position, permissions, log channel, Anti-Nuke, backup and verification as a concrete checklist.
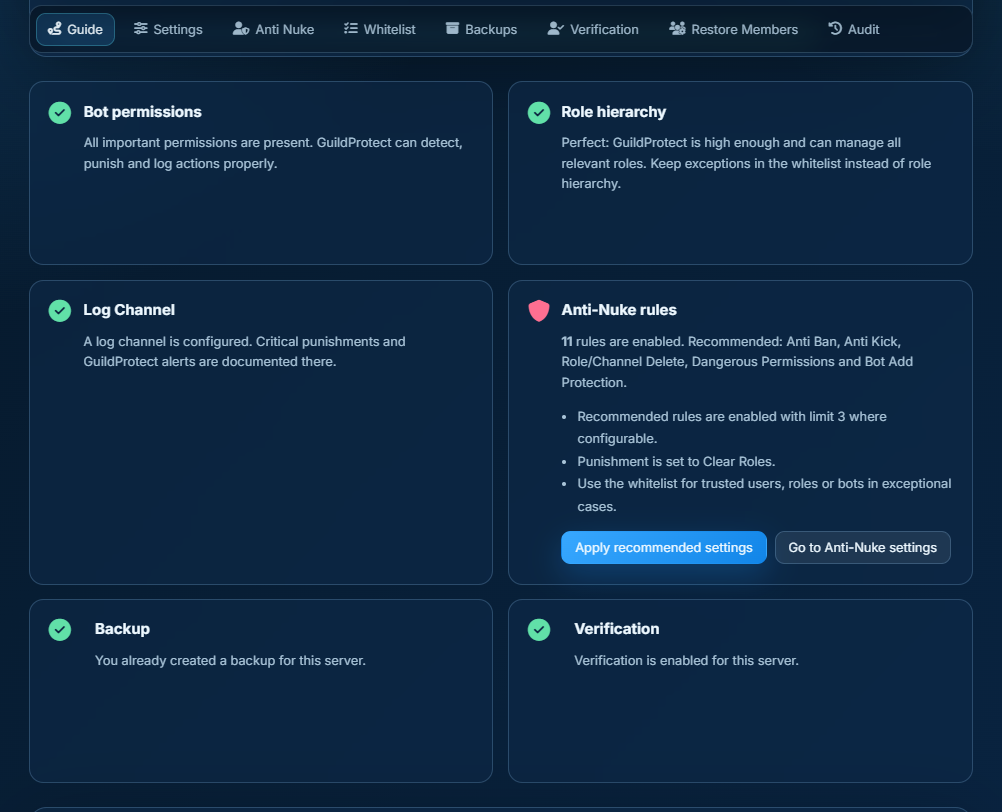
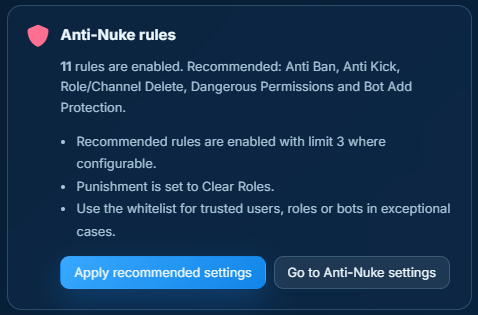
Enable at least Anti Ban, Anti Kick, Role Delete, Channel Delete, Dangerous Permissions and Bot Add Protection. Recommended limits are 3 actions in 60 minutes with Clear Roles as the first punishment.
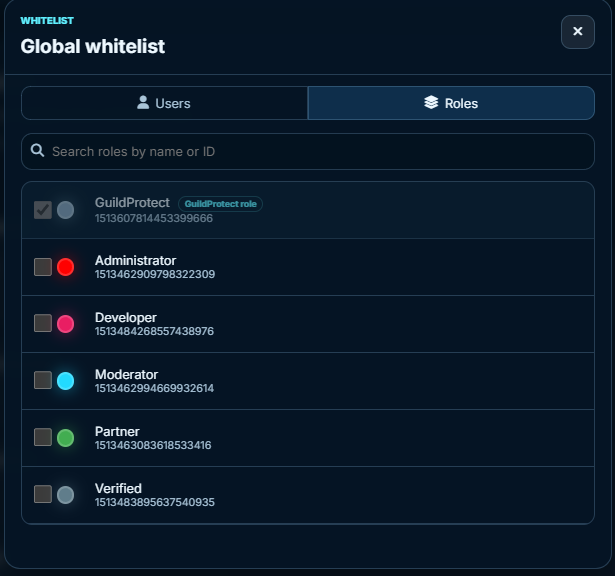
Whitelist is for exceptions, not a replacement for clean roles. Only whitelist owner-adjacent users, system bots or roles you truly trust.
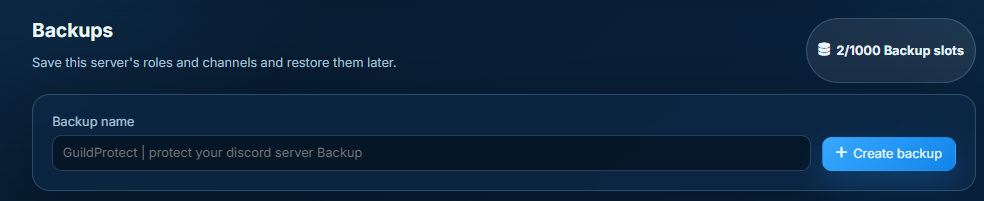
Create a backup after setup. Roles, channels, categories and permissions stay recoverable if something goes wrong later.
Optionally, the owner can enable verification, set a verify role and send an embed message with a button. Verified members can later be restored.